How to ... page
These pages are intended to provide advices how certain philological could practices could be implemented using the XML models for description and edition of Slavic manuscript. In some cases the encoder could find more than one solution to a problem. Therefore it seems to be a useful idea to draw an outline of most popular practices.
These advices are written without preliminary plan. Hopefully, as time goes by more and more useful practices will find place here.
How to encode and display non-Unicode characters in TEI – the case of digital Monumenta frisingensia
by Tomaž Erjavec (Jožef Stefan Institute, Ljubljana)
This document gives a brief explanation of how special characters can be encoded in TEI and subsequently displayed in HTML, via XSLT. The discussion is based on the solution adopted in the digital edition of the 10th century Monumenta frisingensia – the Freising Manuscripts (eFM, http://nl.ijs.si/e-zrc/bs/), one of the editions of the eZISS library.
1. Special characters
While Unicode covers a very large number of characters there still occur cases where a certain character (or the shape of a character, i.e. a glyph) that is needed for a digital edition is not available, or will not be displayed properly given current font technology. The first case occurs e.g. with idiosyncratic historical characters, the second with complex phonetic characters which are composed of the base character + several non-spacing diacritics.
An example of the former is LATIN SMALL LETTER P WITH FLOURISH, displayed as

Unicode does not contain this character, but it can be approximated with the combination LATIN SMALL LETTER P + COMBINING TILDE OVERLAY, giving

or even simply by LATIN SMALL LETTER P, i.e. “p”.
An example of the latter is the character LATIN SMALL LETTER OPEN O WITH TILDE AND GRAVE ACCENT, correctly displayed as
and encoded in Unicode as the combination of three characters, namely
LATIN SMALL LETTER OPEN O + COMBINING TILDE + COMBINING GRAVE ACCENT. But given its standard Unicode encoding, it will, with current fonts, be most likely displayed as
i.e. with the tilde and grave accent displayed in the same area, leading to an unintelligible representation.
A solution to both these problems is to use a special purpose font covering the desired characters (if, of course, one is available!), which gives their codepoints in the Unicode Private Use Area (PUA). This was the case with the eFM, where we had at our disposal the ZRCola font (http://zrcola.zrc-sazu.si/), containing all the characters needed to properly display the eFM.
However, simply using such PUA characters in the XML file is problematic for two reasons. First, a digital edition encoded in TEI is supposed to be interchangeable. But if it contains characters in the PUA it is not so, by definition (Private Use Area). Second, the client platform (user) must have the font installed, otherwise the characters are not displayed at all (or, rather, are displayed as ⑱ or a similar “error” glyph), even though Unicode, and the fonts already installed on the client might contain at least an approximation of the desired character.
2. Special characters and TEI P5
TEI P5 makes provisions for including special characters, via the so called gaiji module, which is explained in detail in Chapter 5. Representation of non-standard characters and glyphs of the TEI Guidelines. In short, special characters are represented in the body of the text with the element <g>. These elements in P5 bear the attribute “ref”, which gives a reference (link) to the ID of the character/glyph definition, itself stored in the TEI header.
The eFM edition was completed before the release P5, and is encoded in P4 but modified so as to include the gaiji module – because of general differences between P4 and P5, there are some differences in the treatment of special characters. In particular, eFM uses the attribute “id” for identifiers on elements (P5 uses “xml:id”) and eFM uses the “corresp” on <g> to link to the character definition, while P5 uses “ref”.
To exemplify, the word

could be written in the TEI eFM as
tw<g corresp="zrcolaE65A"/>:
because the ZRCola contains the required complex character at the PUA codepoint U+E65A.
But what does this zrcolaE65A in fact correspond to?
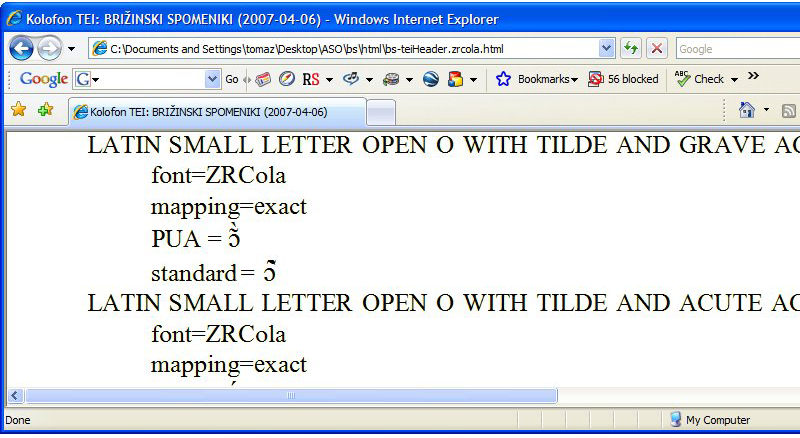
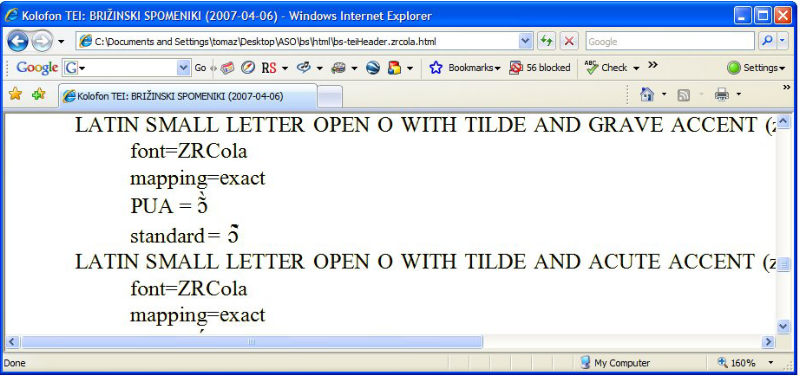
When the gaiji module is used, the TEI header can include (in the <encodingDesc>) the element <charDesc>. This element then contains the actual definitions of special characters as follows (we give here the XML character entities instead of Unicode characters for better readability):
<char id="zrcolaE65A">
<charName>LATIN SMALL LETTER OPEN O WITH TILDE AND GRAVE ACCENT</charName>
<charProp>
<localName>font</localName>
<value>ZRCola</value>
</charProp>
<charProp>
<localName>mapping</localName>
<value>exact</value>
</charProp>
<mapping type="PUA"></mapping>
<mapping type="standard">ɔ̃̀</mapping>
</char>
</pre>
As can be seen, we first give the character its ID with which we refer to it in the body of the document. Next comes the name of the character which we are defining, where it is a good idea to follow the Unicode guidelines for naming of characters. The <charProp> elements give the properties of the character. In our case we define the character as belonging to the ZRCola font, and furthermore that the mapping from the ZRCola to Unicode is an exact mapping. In other words, if the font supports the correct rendering of the complex diacritic stack of the character, then the Unicode representation will be identical to the ZRCola one. Finally, the <mapping> elements give the mapping of the character, the first as one character in the Private Use Area, and the second one to standard Unicode as a combination of three characters.
Let us look at one more example, for the case where Unicode does not offer an exact match of the character we need. The word

is written in eFM as
<g corresp="zrcolaE13D"/>tiuuo
and the definition in the header is:
<char id="zrcolaE13D">
<charName>LATIN SMALL LETTER P WITH FLOURISH</charName>
<charProp>
<localName>font</localName>
<value>ZRCola</value>
</charProp>
<charProp>
<localName>mapping</localName>
<value>lossy</value>
</charProp>
<mapping type="PUA"></mapping>
<!-- Standard Unicode: LATIN SMALL LETTER P + COMBINING TILDE OVERLAY -->
<mapping type="standard">p̴</mapping>
</char>
As can be seen, the only difference in the definition is in the
3. Displaying special characters in HTML
This section shows how to take advantage of the “double-faced” nature of TEI defined special characters in the HMTL display of the document. We assume, as is the case in eFM, that the conversion from XML to HTML is performed with an XSLT script. We explain the rendering of special characters in several steps, introducing additional features with each step.
If we are content to simply display the PUA character, counting on the user to have the requisite font installed, then the template to display the <g> element is quite simple:
<xsl:template match="g">
  <xsl:variable name="glyph" select="id(@corresp)/mapping[@type=’PUA’]"/>
  <xsl:value-of select="$glyph"/>
</xsl:template>
Alternatively, if we wish to create the HTML using standard Unicode fonts, the template would be
<xsl:template match="g">
  <xsl:variable name="glyph" select="id(@corresp)/mapping[@type=’standard’]"/>
  <xsl:value-of select="$glyph"/>
</xsl:template>
Ideally, we would want a XSLT stylesheet to be able to render in either PUA or standard font. For this we can make use of a string parameter which we pass to the stylesheet, called e.g. ENCODING. The template would then be:
<xsl:param name="ENCODING">standard</xsl:param>

...

<xsl:template match="g">
  <xsl:variable name="glyph" select="id(@corresp)/mapping[@type=$ENCODING]"/>
  <xsl:value-of select="$glyph"/>
</xsl:template>
Another useful addition to the template would be for the user of the HTML pages to see the definition of the character, in case it does not display properly in the browser. This can be achieved by enclosing the character in the <SPAN> element, and giving it the “title” attribute. On mouse-over, the character name is displayed:
<xsl:template match="g">
    <xsl:variable name="glyph" select="id(@corresp)/mapping[@type=$ENCODING]"/>
    <xsl:variable name="name"  select="id(@corresp)/charName"/>
    <SPAN title=”{$value}”>
      <xsl:value-of select="$glyph"/>
    </SPAN>
  </xsl:template>
The eFM in fact implements a slightly more complicated template, which, in case the standard font is used, uses CSS to visually distinguish exact from lossy characters, via the “class” attribute on <SPAN>. For completeness, we give the exact template from eFM:
<xsl:template match="g">
    <xsl:variable name="glyph" select="id(@corresp)/mapping[@type=$ENCODING]"/>
    <SPAN>
      <xsl:if test="$ENCODING = 'standard'">
        <xsl:attribute name="class">
          <xsl:value-of select="id(@corresp)/charProp[localName='mapping']/value"/>
        </xsl:attribute>
      </xsl:if>
      <xsl:attribute name="title">
        <xsl:value-of select="id(@corresp)/charProp[localName='font']/value"/>
        <xsl:text>: </xsl:text>
        <xsl:value-of select="id(@corresp)/charName"/>
      </xsl:attribute>
      <xsl:value-of select="$glyph"/>
    </SPAN>
  </xsl:template>
For eFM, the conversion from TEI to HTML is run twice – once with ENCODING set to “standard” and once to “PUA”. We thus get two sets of HTML files, one meant for users having the ZRCola font installed, and one for those that don’t, but do have some other font (such as SILDoulos). The two HTML versions are also cross-linked in the navigation panel, so users can switch between one and the other, depending on their preference.
Those interested in the details are welcome to consult the source XML, the XSLT stylesheet, and the resulting HTML, all publicly available from the eFM homepage.
How to enter minimal information in the <teiHeader>
by Andrej Bojadžiev (Sofia University)
The <teiHeader> is one of the most interesting solutions as part of the TEI element structure. Its intention is to provide a solution for entering metadata in the markup structures and to give a very detailed record of such facts as: title, author, publisher, source, copyright information or changes in the document. In this part of our TEI document we could supply information regarding the language or languages we are using in our document, editorial principles which guide us in producing the electronic edition and much much more. In large-scale projects such data could be unified and thus the need to store one and the same information in different files could be avoided. If we are in the beginning stage of the work we could simply put the minimal records as part of the structure of <teiHeader>. Let us examine this practice more closely.
The next element after the core TEI element (<TEI>) is <teiHeader>. It has just one required subelement which purpose is to describe the file in various ways (<fileDesc>). This element must provide at least three records:
- the title of our XML document
- who is responsible for this publication
- what kind of source we are using to encode information
"Translated" in the language of TEI XML the structure will look in such a way:
<TEI.2>
<teiHeader>
	<fileDesc>
		<titleStmt>
			<title>...</title>
		</titleStmt>
		<publicationStmt>
			<p>...</p>
		</publicationStmt>
		<sourceDesc>
			<p>...</p>
		</sourceDesc>
	</fileDesc>
</teiHeader>
...
</TEI.2>
The element <titleStmt> wrapps the information about title, author, editor, etc. The only mandatory element here is <title>. In the <publicationStmt> the most general element if we do not want to supply other information is just a paragraph (<p>). The same is valid for our description of sources. If it is an original electronic document we could put here some phrase like: No source. This is an original electronic document. Now we are ready to fill-in the other information. Latter, we can turn back to these elements and provide much more detailed information.
How to enter information in <overview> element
by Andrej Bojadžiev (Sofia University)
The element <overview> is provided in cases when there is no need to enter structured information or when we have no sufficient evidence to accomplish the task. This element is useful in the short catalogue descriptions and should be avoided where there is enough data on particular subject. However, in full-lenght descriptions sometimes it is possible to use it as an introduction to particular topic. In such cases the next elements must provide data in well-defined structured way.
How to encode watermark information. Part 1. Simple example
by Andrej Bojadžiev (Sofia University)
In the element <codicology> after suppying information on folio's number insert <material> and as a subelement enter <paperDesc>. One of the possible choices here is <watermark>. Your field should look like this one:
<codicology><overview></overview><numFolio>some number</numFolio>
<material><paperDesc>
<watermark></watermark></paperDesc></material>
... (the rest of the codicoloical description)
</codicology>
You must enter watermark data in the corresponding element. It does not matter whether you would like to encode an existing catalogue information or enter your notes right in the XML format. Consider the following (simplified) example from the Predrag Matejić's watermark catalogue (Matejić 1981:4):
[DB, MM] Scissors
         very similar to M.-Tr. #2586 (around 1370) ... F. 7, (15), (66), (93)
This information could be entered in such a way:
<watermark tracing="hand" n="f.17" range="ff. 7, 15, 66, 93" who="DB, MM">
<motif type="basic">Scissors</motif> very similar to
<bibl>M.-Tr. <num>2585</num><date>1370 (around)</date></bibl>
</watermark>
Let us explain this step by step. We begin with the element <motif>. In this element enter the name of the watermark. In this case "Scissors". Then answer the question whether this motif is basic or supplementary with the help of the predefined values in the attribute type.
<watermark><motif type="basic">Scissors</motif></watermark>
After the name of the motif is written we will continue with the rest of data and will write down the information on similarity:
<watermark><motif type="basic">Scissors</motif>
very similar to M.-Tr. #2586 (around 1370) </watermark>
The new data could be further divided into several informational pieces: "very similar" along with "similar" or "identical" are useful keywords very common in the catalogues. "M.-Tr. #2586" is bibliographic pointer with the number of the corresponding watermark in the catalogue and should be encoded as part of a reference. The date expression "(around 1370)" should be encoded obviously as a date. In this case the date is taken from the Mošin - Tralijć watermark album (Mošin, Tralijć 1957) and is not part of the encoder's own observations. This means that date expression should be entered as part of the bibliographical information as well. So far we have the following piece of information in the XML format:
<watermark><motif type="basic">Scissors</motif> very similar to <bibl>M.-Tr.
<num>2585</num><date>1370 (around)</date></bibl>
</watermark>
In some latter stage we could expand abbreviations like M.Tr. in a separate file providing links between the descriptions and authority data.
The rest of the visible information is entered as part of the attributes' content. The tracing is made from the f. 7 (n="7") and the same watermark is to be seen on other folia as well (range="ff. 7, 15, 66, 93"). As far as we know all the tracing is made by hand (tracing="hand") from the D. Bogdanović and M. Matejić (who="DB, MM").
- Matejić, Predrag. Watermarks of the Hilandar Slavic Codices. A Descriptive Catalog. Sofia, CIBAL, 1981 (Balcanica III. Etudes et documentes, 2)
- Mošin, Vladimir, Tralijć, S. Vodeni znakovi XIII i XIV vijeka. Zagreb, 1957